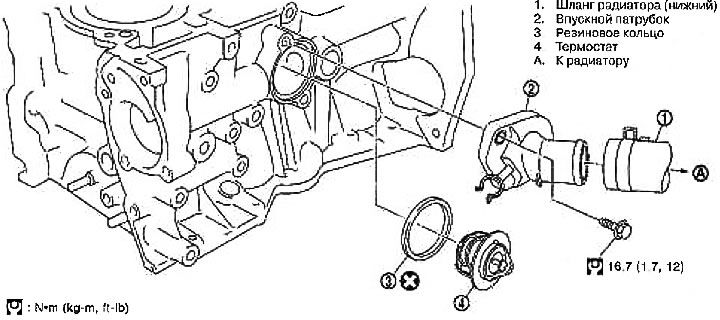
1. Radiator hose (lower); 2. Inlet pipe; 3. Rubber ring; 4. Thermostat; A. To the radiator
Removing
1. Drain the coolant.
Attention:
- Do not remove the radiator cap when the engine is hot. High-pressure coolant splashing out of the radiator can cause severe burns.
- Drain the coolant when it is cold.
- Do not spill coolant on the drive belt.
2. Remove the tank.
3. Disconnect the radiator hose (lower).
4. Remove the inlet pipe and thermostat.
When removed, the coolant remaining in the engine will pour out. Collect it in a container.
Check after removal
Tie the thread so that it is secured to the thermostat valves. Submerge them completely in a container of water. Warm up by shaking.
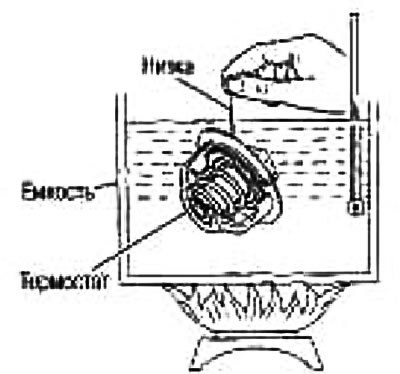
The valve opening temperature is the temperature at which the valve opens and falls off the string.
Keep heating. Check lift height when fully opened.
After checking the lift height at full opening, reduce the water temperature and check the valve closing temperature (see table above).
If the measured values are out of specification, replace the thermostat.
Installation
Installation is carried out in the reverse order of removal, taking into account the following:
Thermostat
Install the thermostat so that the groove of the rubber ring sits on the thermostat flange around the entire perimeter.
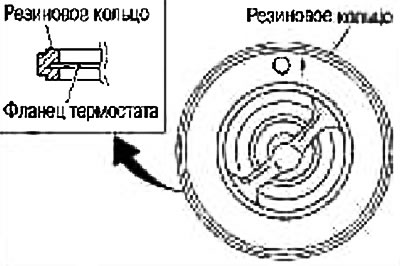
Install the thermostat with the vibration valve up as shown.
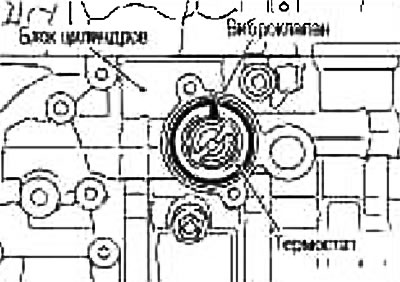
Inlet pipe
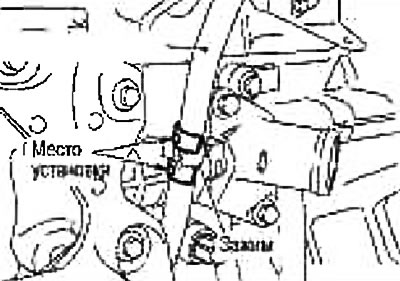
Once installed, secure the inlet pipe clamp to the dipstick guide.
Check after installation
Check for engine coolant leaks using the radiator cap adapter (special tool: EG17650301) and pump (suitable tool) (models without air conditioning) or with a pump and an adapter for the reservoir cap (models with air conditioning).
Start the engine and warm it up to normal operating temperature. Perform a visual check to make sure there are no coolant leaks.