Disassembly
Back cover
Attention:
- The back cover can be difficult to remove, because. the outer ring of the rear bearing is fixed with a ring. To facilitate removal of the rear cover, heat the area of the bearing housing with a 200W soldering iron.
- Do not use a fan heater, otherwise the diode assembly may be damaged.
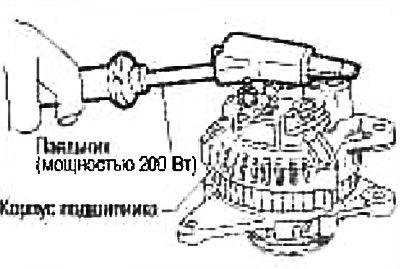
Rear bearing
Attention:
- Once the rear bearing has been removed, do not reuse it. Replace with a new one.
- Do not lubricate the rear bearing outer race.
Examination
Rotor check
1. Resistance check. Resistance: See section «Technical data and specifications».
If the resistance is out of specification, replace the rotor.
2. Insulation test.
If there is continuity, replace the rotor.
3. Check for worn slip rings.
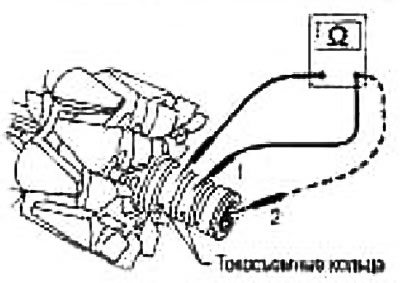
Minimum outer diameter of the slip ring. See section «Technical data and specifications».
If wear is excessive, replace rotor.
Checking the brushes
1. Check if the brushes rotate freely.
If they rotate with a jam, check the brush holder and clean it.
2. Check for worn brushes.
If the wear has reached the limit line, replace the brush.

Stator check
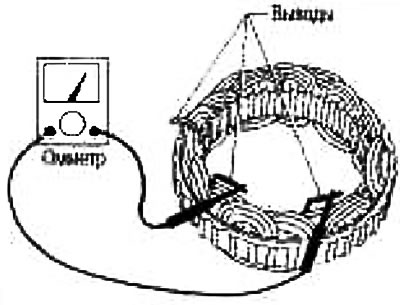
1. Conductivity test.
If there is no continuity, replace the stator.
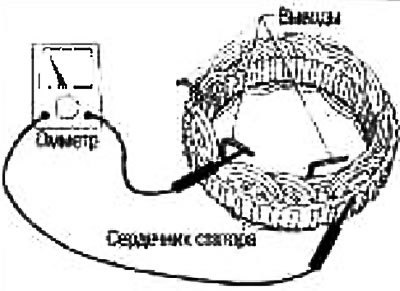
2. Conductivity test to ground.
If there is continuity, replace the stator.
Assembly
Fitting the ring into the rear bearing
Fix the ring in the groove of the rear bearing so that it is as close as possible to the adjacent area.
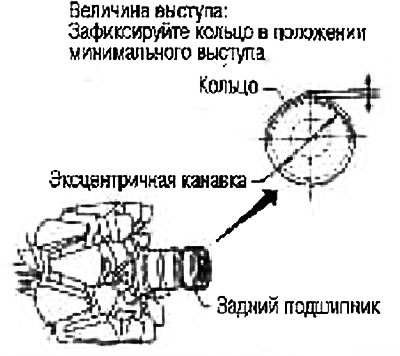
Caution: Once the rear bearing has been removed, do not reuse it.
Rear cover installation
1. Install brush assemblies, diode assembly, regulator assembly and stator.
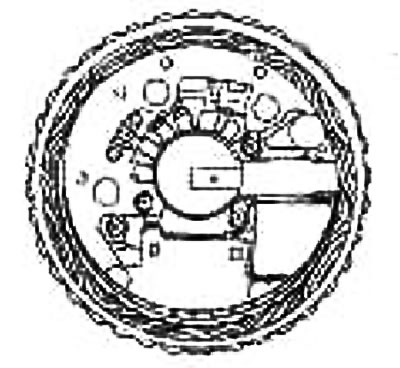
2. Lift the brushes with your fingers and place them on the rotor.
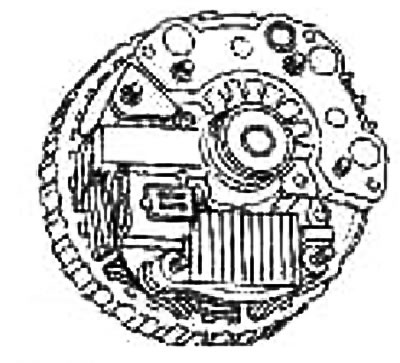
Do not damage the sliding surface of slip rings.