Disassembly
Attention:
- The cylinder body cannot be disassembled.
- Remove the reservoir only if necessary.
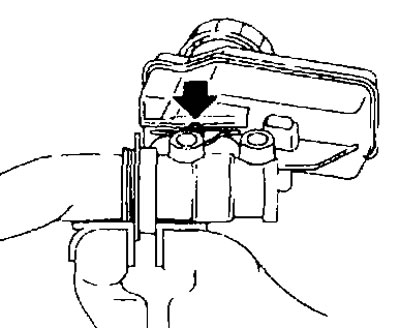
1. Secure the master cylinder assembly in a vice.
Attention. When installing the cylinder body in a vise, use copper strips or a rag to prevent damage and do not over-tighten.
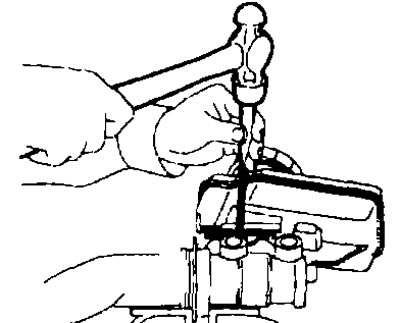
2. Remove the mounting pin from the reservoir using a center punch.

3. Remove the reservoir and remove the rubber bushing from the cylinder body.
Attention. Do not drop components. Do not install components that have been dropped.
Assembly
1. Apply fresh brake fluid to the rubber bushing and insert into the cylinder body.
Attention:
- Do not use mineral oils such as gasoline or kerosene.
- Do not reuse the rubber bushing.
2. Install the reservoir onto the cylinder body.
Attention:
- Do not drop components during installation. Do not install components that have been dropped.
- Do not reuse the tank.
3. Close the cylinder body in a vice.
Attention:
- Place the tank with the chamfered hole under the pin facing up.
- When installing the cylinder body in a vise, to avoid damage, place copper strips or a rag and do not over-tighten.

4. Tilt the reservoir so that the mounting pin can be inserted. Insert the pin. Return the tank to a horizontal position. In the same manner, insert the other mounting pin into the pin hole on the opposite side after the mounting pin passes through the pin hole in the cylinder body.

Attention. Do not reuse the mounting pin.
Check after installation
Leak check
Check for fluid leaks at the cylinder body-to-brake booster connection areas of components such as the reservoir, reservoir fittings, and brake lines.