Note: In some cases, the direction of coolant circulation is indicated by an arrow at the end of the hose (photo).
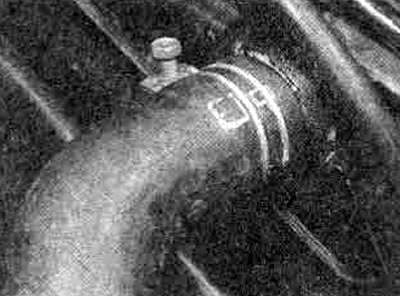
8.0. Upper radiator hose connection (vertical flow radiator)
1. Hoses must be periodically checked and replaced if there are cracks. This most commonly occurs around the brackets that secure each hose to the connections.
2. To disconnect the hoses, use a screwdriver or pliers to loosen the clamps and pull them along the hose from the coupling sleeve. Carefully remove the hose from the bushing (photo).
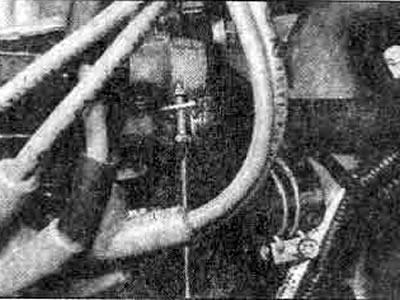
8.2A. Disconnecting the heater supply hose from the metal pipe - 2.0 liter fuel injection models
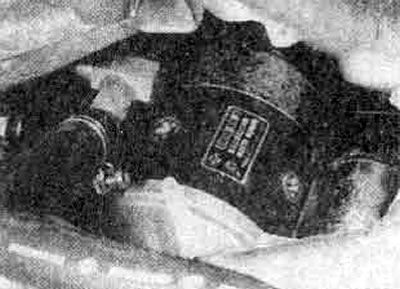
8.2V. Connection of the heater supply hose to the cylinder block elbow - early carburetor models
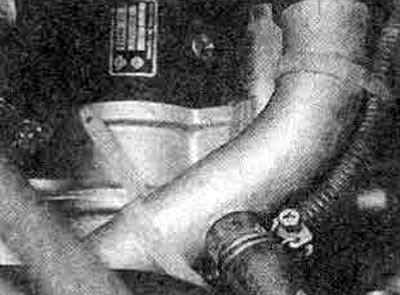
8.2C. Connection of heater return hose to cooling return pipe
3. Radiator hose connections are very fragile; Do not use excessive force when removing hoses. If the hose does not come off, try rotating it on the connections before removing it.
4. Serious leaks will be noticeable, although a small leak may be difficult to stop. The leak will likely only be noticeable when the engine is running and the system is under pressure, and even then the size of the leak may be such that the hot coolant evaporates as soon as it reaches the atmosphere, although in most cases traces of antifreeze should reveal the source of the leak. If not, the cooling system will need to be sealed. You should contact your Nissan dealer or someone qualified to perform a pressure test.
5. In some cases, the leak may be due to a broken (shifted) cylinder head gaskets. To do this, you need to remove the head for examination (see Section 1).
6. Other possible sources of leakage are the water pump and gasket, thermostat housing gasket or plug on the cylinder block. They must be replaced if necessary as described in this Section or Section 1.
7. When installing the hose in place, first put the clamps on the hose, then the hose on the connection. Use soap as a lubricant to make hose installation easier.
8. Slide each end of the hose completely onto the grommet and check that the hose is seated correctly and directed properly, then pull the clamp along the hose until it is behind the grommet, then clamp the end securely (photo).
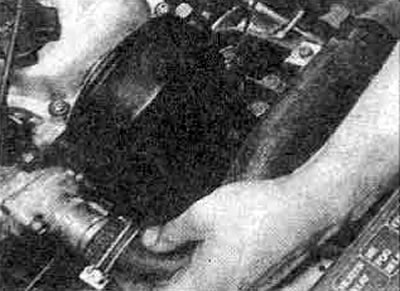
8.8A. Attaching the upper hose to the thermostat housing
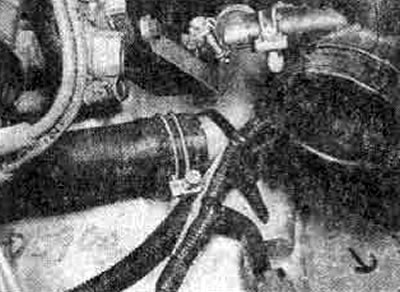
8.8V. Position of the clamp behind the bushing before compression
9. After breaking any part of the cooling system, carefully check for leaks as soon as possible.