2. Remove the three nuts securing the ball joint plate to the lower control arm.
3. Unscrew the nuts securing the stabilizer link to the lower arm and to the stabilizer bar and remove the link.
4. Unscrew the nut securing the front pivot point of the lower arm, unscrew the two bolts and remove the metal clip holding the rear pivot point (photo).
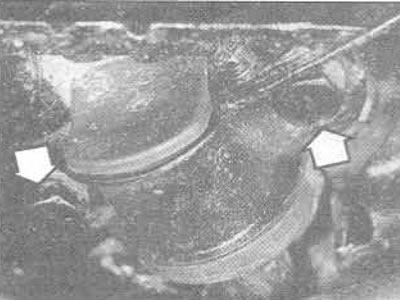
8.4. Front lower control arm rear pivot pin - clamp bolts marked with arrows
5. Remove the assembly.
6. Check the pivot point bushings and replace them if they are cracked or worn.
7. Installation is carried out in reverse order. Align the stabilizer bar link.
8. Lower the vehicle so that all the weight is transferred back to the wheels, arrange the suspension in place, tighten the nuts and bolts to the torque specified in Specifications.
9. Adjust toe and check wheel angles.