Removing
1. Raise the front of the car and place on stands.
2. Remove the wheel.
3. Loosen the nut securing the stabilizer link to the lower control arm.
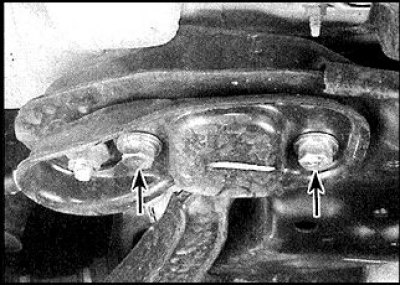
4. Loosen two screws (indicated by arrows) fastening the lever clamp to the suspension cross member, remove the clamp.
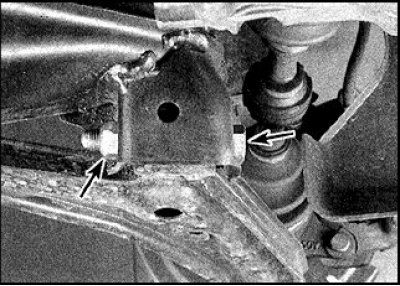
5. Loosen the nut (arrow) lever axis.
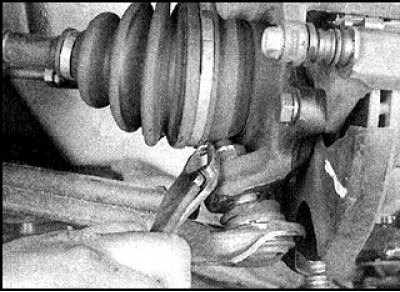 | 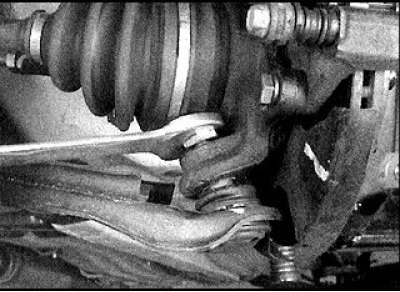 |
6. Loosen and loosen the ball joint nut.
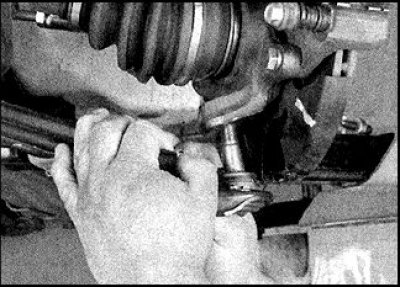
7. Disconnect the lever from the steering knuckle by pressing out the ball joint.
8. Turn away a nut of an axis of the lever, remove a washer.
9. Move the lever down and disconnect from the stabilizer link, remove the bushing and washer.
10. Remove the lever from the axle and get it out from under the car.
Examination
1. Check the condition of the lever and bushings for signs of wear, cracks and other damage on these parts.
2. Check the play of the ball joint, the freedom of rotation of the ball pin in the housing. check the condition of the rubber boot.
3. The lever is a non-separable structure and is replaced as an assembly. The bushings and ball joint cannot be replaced separately.
Installation
Attention! All lever fasteners are finally tightened after the car is removed from the jack.
1. Put the lever on the axle.
2. Attach the stabilizer link after installing the washer and link bushing (the convex side of the washer must face the bushing).
3. Put on the washer and screw in the new nut without tightening.
4. Attach the ball joint to the knuckle, tighten the nut without tightening.
5. Establish a collar of the bottom lever, wrap bolts.
6. Install the lower bushing and washer on the stabilizer link (the convex side of the washer must face the bushing), tighten the new nut.
7. Install the wheel and lower the car.
8. Release the handbrake, roll the car forward and backward, rock the front end.
9. Tighten all lever fastenings with the specified torques, cotter pin the support nut with a new cotter pin.
10. When finished, check the wheel alignment.