Removing
1. Raise the rear of the car and place on stands.
Sedan and hatchback cars
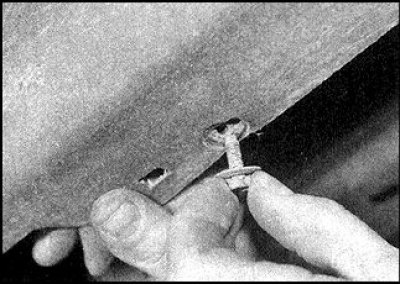 | 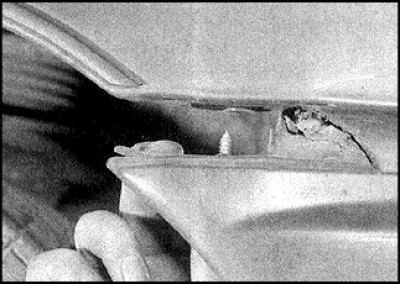 |
2. Remove the 2 screws securing the bumper pads to the rear fender (photo on the left) and screw securing the lining to the edge of the wheel arch (photo on the right).
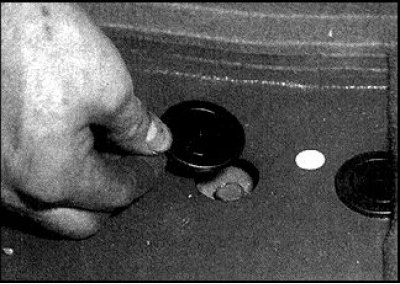 | 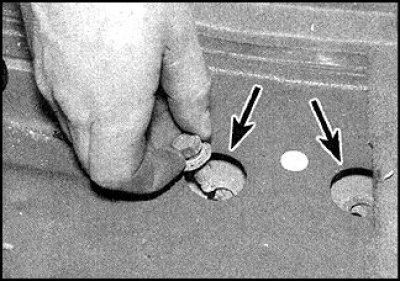 |
3. Working in the trunk, raise the mats, remove the plugs (photo on the left) and unscrew 2 bolts securing the bumper brackets to the bottom (photo on the right).
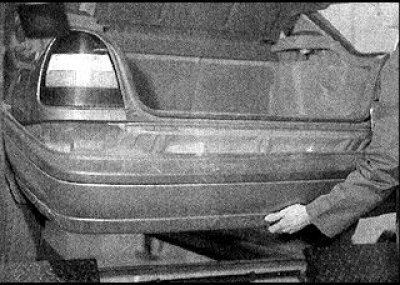 | 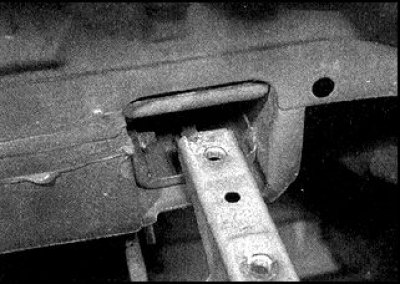 |
4. Remove bumper (photo on the left) and brackets (photo on the right).
5. If necessary, the bumper cover can be removed separately by detaching the latches.
Coupe cars
6. Remove the license plate and bracket.
7. Loosen the screws securing the bumper pads on the edges of the rear wheel arches.
8. Get clips and remove the lower part of a lining of a bumper.
9. From the side of the cargo compartment, unscrew the bolts securing the bumper sidewalls to the wings.
10. From the side of the cargo compartment, unscrew the nuts securing the upper part of the bumper to the body.
11. To access the bolts, remove the plugs at the corners of the cargo compartment.
12. Turn away bolts, push a bumper, disconnect a socket of illumination of a sign and remove a bumper.
Installation
The bumper is installed in reverse order.