2. Remove the ring gear shaft assembly from the transfer case housing. Apply dye to the teeth of the ring gear.
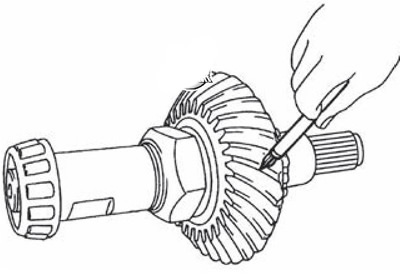
Attention. The coloring matter was applied to both surfaces of the TIRx-chelYURK of the gear teeth in four positions equidistant from each other along the circumference of the gear.
3. Insert ring gear shaft assembly into transfer case housing.
4. Install transition housing.
5. Remove the hole plug to check the contact patch in engagement on the underside of the transfer case housing.
6. Turn the connecting flange back and forth several times. After that, check the contact in the engagement of the drive gear with the ring gear, looking through the hole to check the contact pattern in the mesh (A: forward side, B: reverse side).
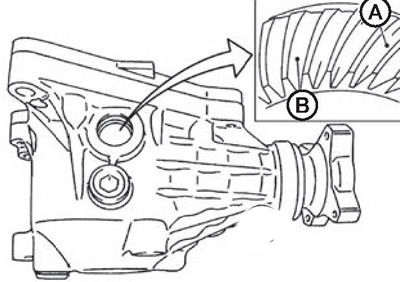
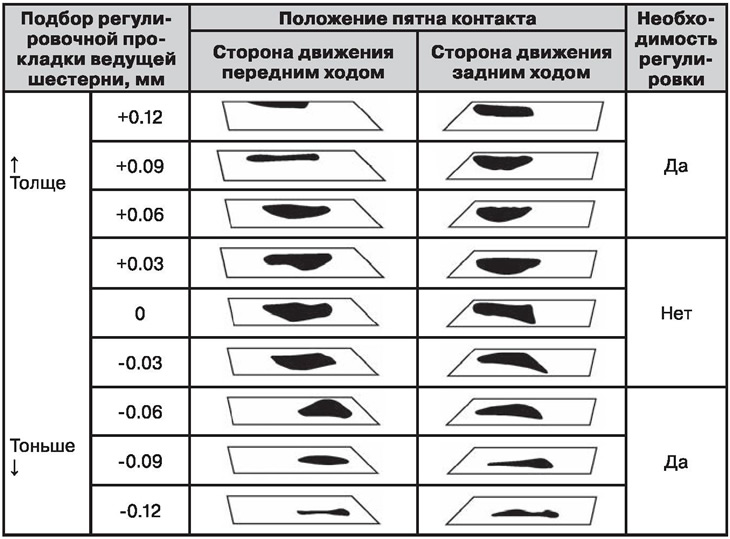
7. If the engagement contact is not correct, adjust it as follows (X size).
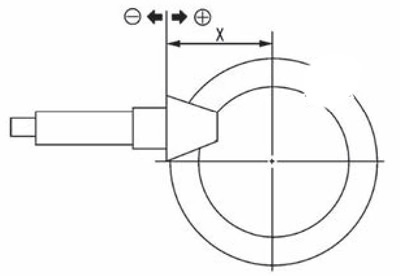
Attention. If the calculated shim size is not available, select a thicker shim of the closest size.
In case the contact patch is at the top of the tooth or at the outer radius of the gear, using a thicker shim allows you to move the drive gear towards the ring gear.
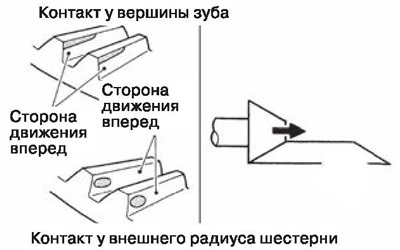
Attention. Use only one shim.
In the event that the contact patch is at the base of the tooth or at the inner radius of the gear, using a thinner shim allows you to move the pinion gear away from the ring gear.
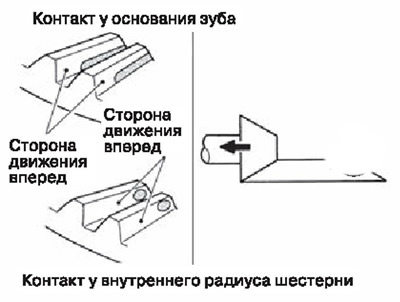
Attention. Use only one shim.
8. Insert a plug into the transfer case crankcase test hole.
Attention.
- Remove old sealant residues from mounting surfaces, then remove all dirt, oil and foreign particles from them.
- Apply sealant to the threads and tighten the plug to the specified torque.