
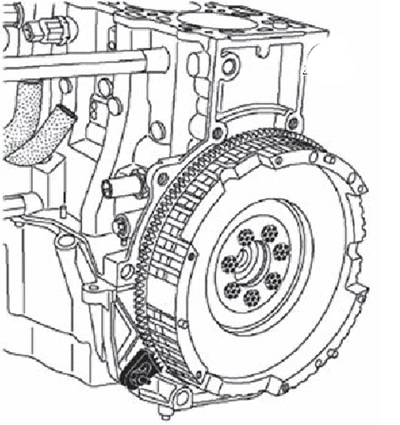
2. Remove the clutch basket.
3. Remove the flywheel.
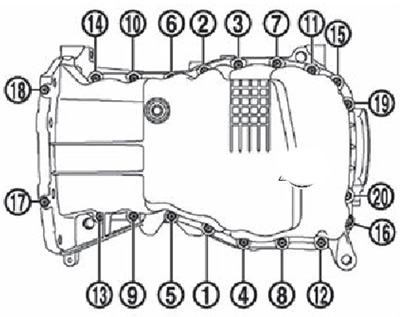
4. Loosen the oil pan bolts in the reverse order to that shown in the figure.
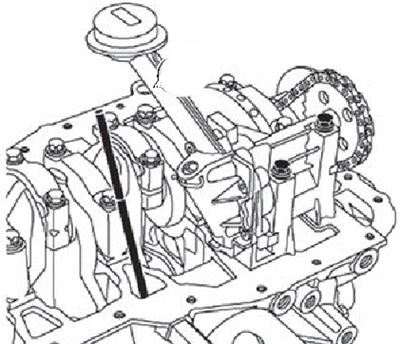
5. Remove the oil level sensor.
6. Remove the oil pump.
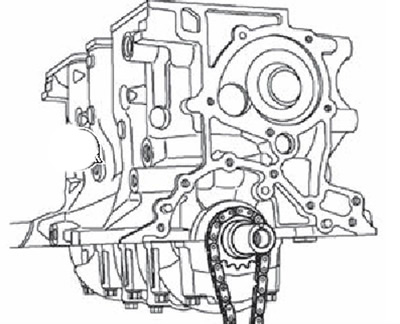
7. Remove the crankshaft cover.
8. Remove the water pump.
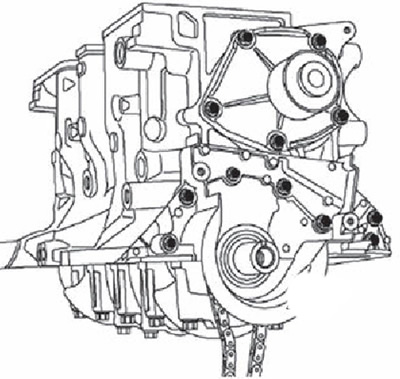
9. Remove the oil pump drive chain.
10. Remove the oil pump drive gear.
Attention. Do not use a pointed tool to mark the connecting rod caps as this may cause cracking on the connecting rod. Use marker.
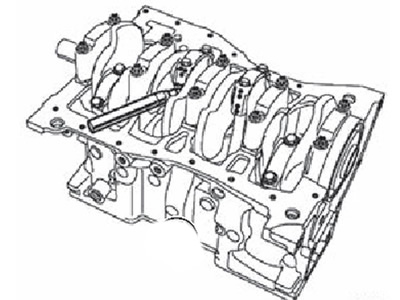
11. Unscrew the connecting rod bolts and remove the connecting rod with the piston assembly.
Note. All connecting rod caps must be tagged as they may differ in the inserts installed in them.
12. Remove the main bearing caps.
13. Remove the caten shaft.
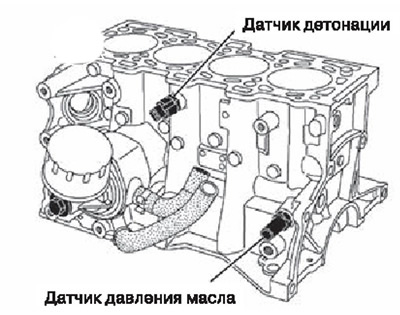
14. Remove the oil pressure sensor and knock sensor. Loosen the oil filter bracket bolt.
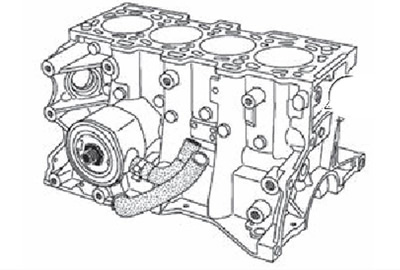
15. Remove the oil cooler mounting bolt.
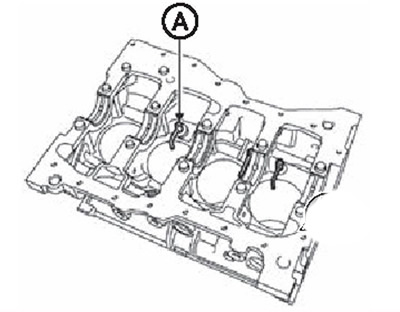
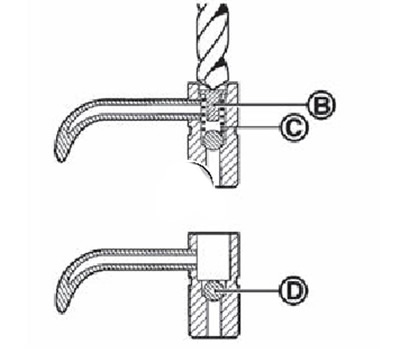
16. For removing oil sprinklers (A) they must be drilled out with a 7 mm drill in order to remove the spring stopper (IN) and spring (WITH).
Note. Do not remove the ball (D) to prevent the cooling system from opening.
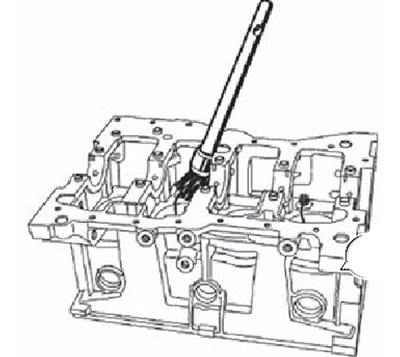
17. Remove chips with a suitable brush.
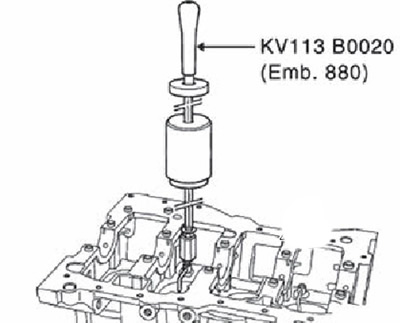
18. Screw in the oil sprinkler puller (special tool: KV113B0120 (Mot. 1485-01)) into the drilled holes using a 6 mm wrench.
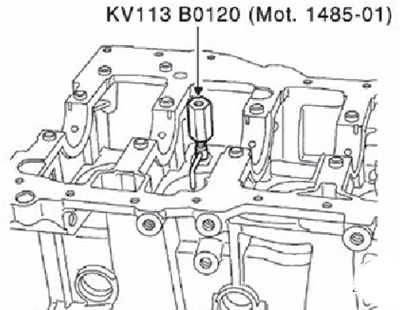
19. Screw in sliding hammer (special tool: KV113B0020 (Emb. 880)) into the sprinkler puller (special tool: KV113B0120 (Mot. 1485-01)) and remove the oil sprayer.
20. To remove the piston pin, use a screwdriver to remove the retaining ring and release the pin.
Note. It is imperative to note the correspondence of the connecting rod to the piston, since the size groups of pistons in one engine may differ.