Removing
1. Versions with automatic transmission or CVT: move the selector lever to position "D".
2. Remove front console trim.

1. Facing the front console (versions with manual transmissions).
2. Facing the front console (versions with automatic transmissions and CVTs).
Remove the clips at the back of the console trim, and then unhook the clips at the front. Pull the console trim up to release it from the center console.
Disconnect wire connectors.
3. Remove the knob of the selector lever.
4. Remove cover D of the dashboard:
Using a suitable puller or similar tool, unhook the metal clips on the cover from bottom to top.
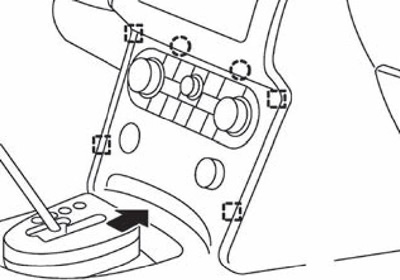
Disconnect wire connectors.
5. Using a screwdriver (A) unscrew the screws (IN) in front of the center console.
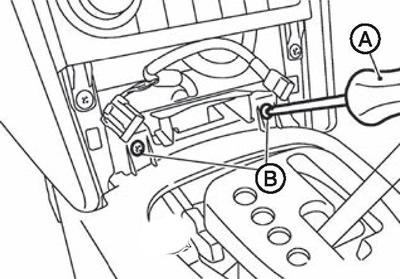
6. Remove bottom side covers (left and right):
Pull the bottom side cover at the rear to release the latches (1) and clamps (2). Use a flathead screwdriver or similar suitable tool to pry off the top metal clips (3).
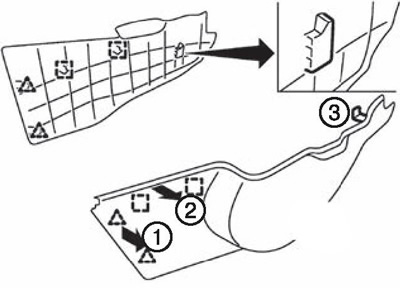
Pulling back, unhook the lower side covers from the dashboard.
Attention. When removing the lower side covers, be careful not to damage these parts.
7. Remove the front mounting screws and clips of the center console.
8. Pull up to release the clips and remove the cup holder..
9. Disconnect all wire connectors and remove the switch panel from the center console as shown.
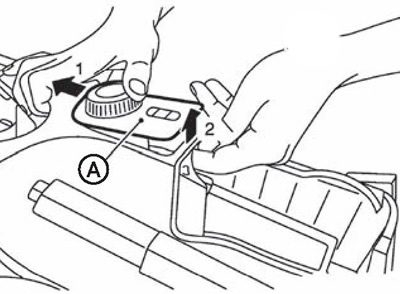
10. Remove adjusting nut (A) parking brake cable to loosen the drive cable sufficiently.
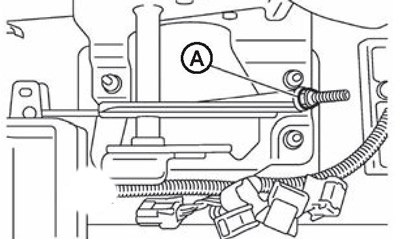
11. Remove the rear trim of the center console:
Pulling back, unhook the metal clips from the center console.
Disconnect internal connector (A) key antennas.
Disconnect the wire connector retaining clip.
Loosen the screw (IN) key antenna mounts.
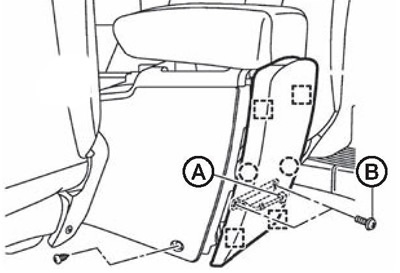
12. If necessary, move the front seats forward, and unscrew the rear screws securing the center console.
13. Remove the center console assembly.
Attention. Be careful not to damage the seats and other components when removing the center console.
Installation
Installation is made in an order, the return to removal.