2. Check the ovality and taper of the cylinders by measuring the diameter in three planes, in directions parallel and perpendicular to the axis of the block (photo). If the results differ from the standard, then the unit should be handed over to a repair shop. After restoring the block, pistons and rings of repair sizes will be needed.
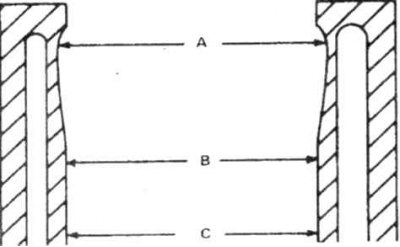
14.2a Measure the diameter of the cylinder under the flanges (A), in the center (IN) and at the bottom (WITH)
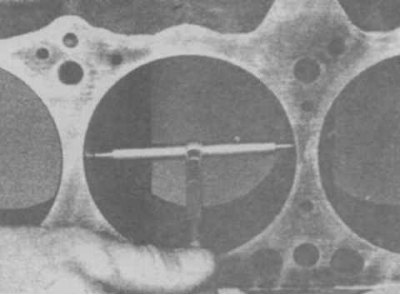
14.2b Telescopic inside diameter gauge
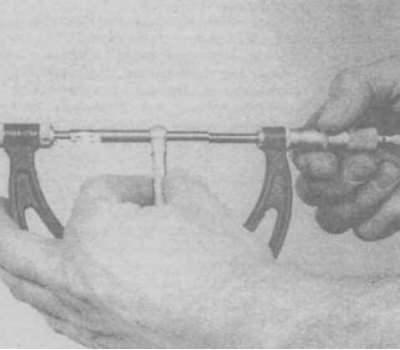
14.2c Cylinder diameter measurement
3. If the condition of the cylinders is acceptable, the wear of the cylinder and the gap between the cylinder and the piston do not exceed the established norms, then the cylinders need to be honed (photo). Work is recommended to be performed in a car service.
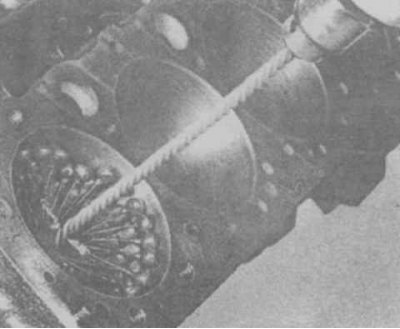
14.3a Cylinder honing brush
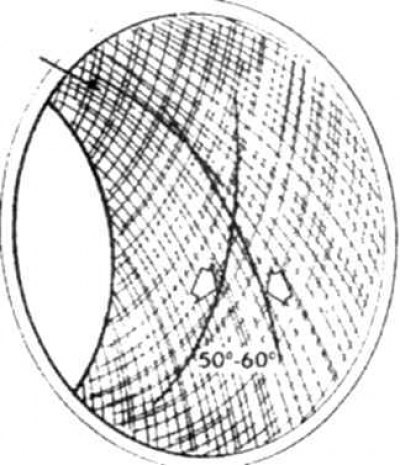
14.3b Approximate view of the cylinder surface after honing
4. Check the deformation of the split plane of the cylinder block (photo). If the deviation from the plane exceeds the norm, then the block should be ground in a car service workshop. The thickness of the material removed from the block must not exceed the thickness of the material removed from the head. If the total size by which the block and head have decreased after grinding exceeds 0.2 mm, then the head and block should be replaced.
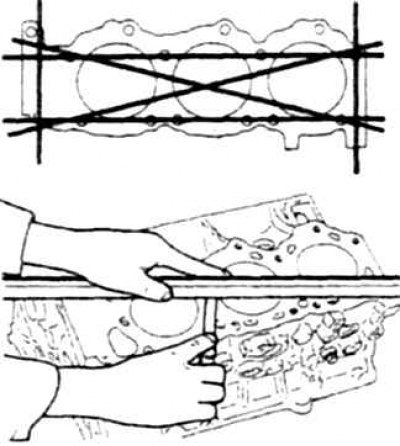
14.4a Checking the deformation of the split plane of the cylinder block
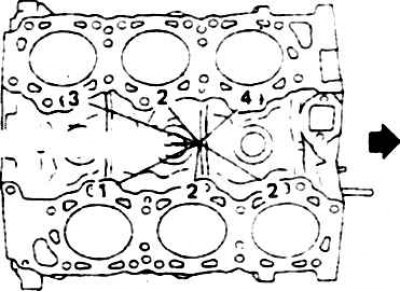
14.4b Marking the size group of pistons on the V6 block
In this case, new pistons are selected according to the markings on the cylinder block (photo).